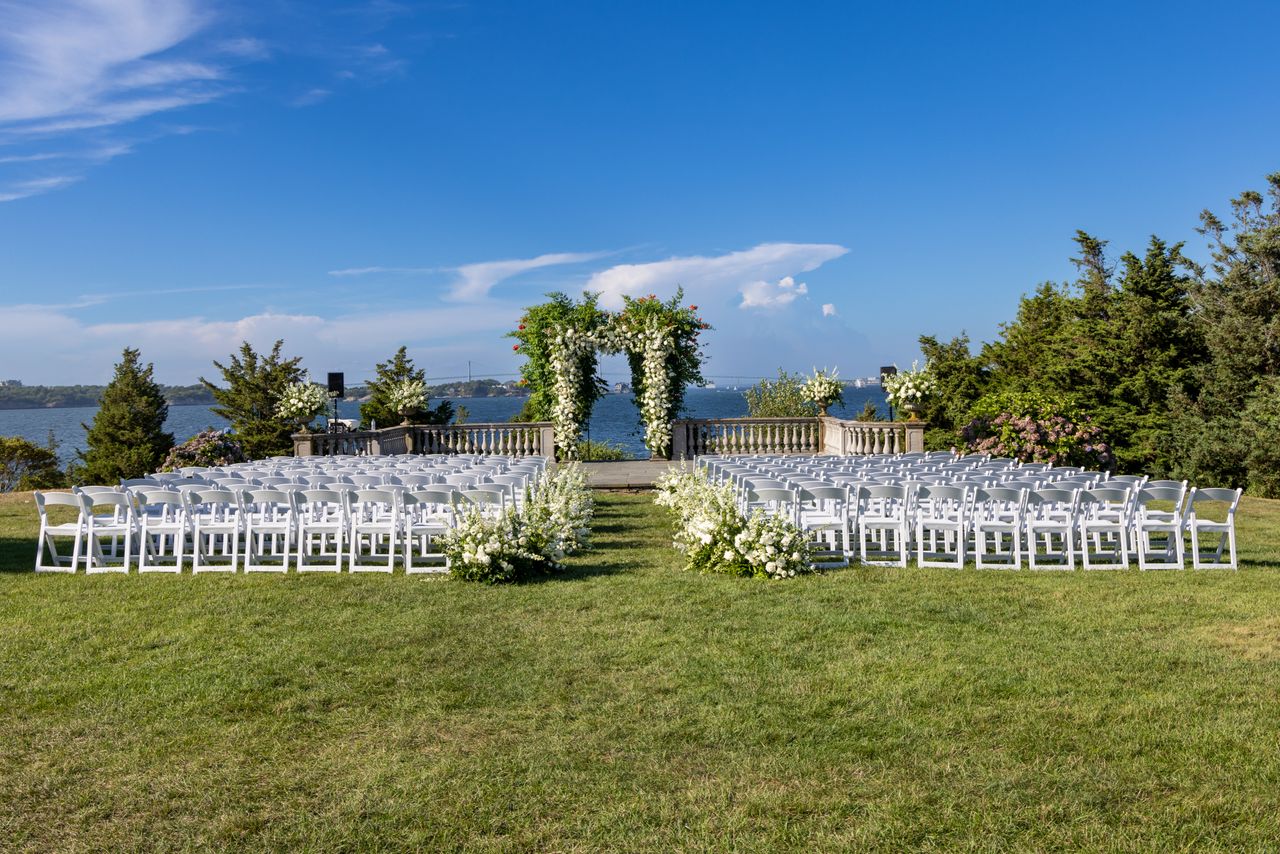
Framed in Romance: How to Decorate a Wedding Arch with Fabric?
Table of Contents
The moment a couple stands beneath the wedding arch to exchange vows is the emotional high point of any ceremony. Because this structure serves as the primary visual anchor for the service—and the centerpiece of your forever photographs—its design demands thoughtful attention.
While florals bring texture and color, decorating a wedding arch with fabric adds unparalleled romance, movement, and elegance. Fabric can soften industrial metals, elevate rustic wood, and introduce a sense of grand scale to outdoor environments.
Whether you are a DIY bride, a groom building a backyard paradise, or an aspiring wedding designer, this professional guide breaks down the step-by-step methodology to perfectly drape a wedding arch with fabric.
1. Choosing the Right Fabric for Your Wedding Arch
The primary mistake amateur designers make is selecting fabric purely based on color without considering weight, opacity, and drape. The right material will flow naturally with the breeze without becoming a chaotic sail, and it will catch the light without looking shiny or cheap.
- Chiffon: The undisputed industry gold standard. Chiffon is lightweight, sheer, and incredibly soft. It puddles beautifully at the base of the arch and offers a dreamy, translucent quality that lets natural sunlight pass through.
- Voile: A crisp, lightweight cotton or cotton-blend fabric. Voile is slightly more structured than chiffon but still offers an elegant, airy drape. It is excellent for classic, clean-cut modern aesthetics.
- Organza: If you want a subtle shimmer and a bit more body, organza holds its shape incredibly well. It creates clean, crisp folds and structural swags, though it moves less freely in the wind than chiffon.
- Tulle: Best suited for traditional, romantic themes or fairytale aesthetics. Tulle creates a voluminous, ethereal cloud effect rather than a sleek, cascading puddle.
- Linen or Cheesecloth: Essential for bohemian, rustic, or beachside weddings. These texturized fabrics offer an organic, effortlessly undone look that complements raw wood or driftwood arches beautifully.
2. Calculating Your Fabric Yardage
Before buying bolts of fabric, you must measure your framework. A common miscalculation leaves designers with tight, strained fabric rather than lush, flowing swags.
Use this simple industry standard formula to calculate your yardage:
$$\text{Total Yardage} = \frac{(\text{Height} \times 2) + \text{Width} + \text{Puddle Factor}}{\text{3}}$$
The Puddle Factor: Always add an extra 6 to 9 feet (2 to 3 yards) of fabric per side so the material can gather loosely on the ground. This anchors the look visually and hides base plates or sandbags. If you plan to weave the fabric dynamically through the frame, add an additional 30% to your total length.
3. Essential Tools and Prep Work
Never show up to the venue with just a roll of fabric. To ensure your design looks flawless and stands up to wind, heat, and movement, build a specialized installation toolkit.
- Heavy-Duty Zip Ties: Clear or colored to match your arch frame. These are the secret workhorses that hold the weight of the fabric.
- Pipe Cleaners or Chenille Stems: Match these to your fabric color. They allow you to gather and tie fabric without tearing the delicate fibers.
- Florist Wire and Floral Tape: For blending fabric attachments with fresh or faux floral installations.
- Fabric Clamps or Spring Clips: Essential for holding fabric in place temporarily while you adjust the draping asymmetry.
- Handheld Steamer: Wrinkled fabric looks messy and unprofessional in high-resolution photography. Set up your structure and give it a thorough steam right before the florals are mounted.
4. Step-by-Step Installation Guide
Let’s walk through the foundational “Asymmetrical Swag” technique, which works beautifully on standard rectangular and rounded frames.
Step 1: Prep and Anchor the Frame
Before a single thread touches the arch, ensure the base is entirely secure. Weight the base plates down with sandbags or stakes. If the frame wobbles now, it will fail once loaded with fabric and florals.
Step 2: Establish the Anchoring Points
Determine where the fabric will gather. For a classic look, select three points: the top-left corner, the top-right corner, and halfway down the right vertical pillar.
Step 3: Secure the Core Draping
Start with your fabric bunched loosely in your hand (do not pull it flat). Tie a zip tie around the fabric bundle at the top-left anchor point, leaving a long tail cascading down to the floor. Next, stretch the fabric across the top header beam to the top-right corner, creating a gentle, dipped scallop shape in the middle. Fasten securely with a second zip tie.
Step 4: The Downward Cascade
Take the remaining fabric hanging from the top-right corner and gather it down toward the middle anchor point on the right vertical pillar. Secure it tight against the frame. Let the rest of the fabric fall straight down to the floor, allowing the material to puddle outward toward the guests.
Step 5: Conceal the Mechanics
Now that your fabric is locked down, use the remaining folds to wrap around and entirely hide the plastic zip ties. Smooth out the loops and use your handheld steamer to release any deep packing creases.
5. Integrating Florals with Fabric
Fabric and florals should never look like they are fighting for space; they should look seamlessly integrated.
| Design Strategy | Execution Method | Best Visual Result |
| The Floral Nest | Build floral cages over the zip-tied fabric anchor points. | Completely hides the hardware while making the blooms look like they are bursting out from the fabric folds. |
| The Weave | Weave thin eucalyptus or ivy garlands through the dipped swoops of the fabric. | Adds organic depth to stark white or cream fabrics, pulling the look into nature. |
| The Asymmetric Balance | Keep florals clustered on one heavy corner, while the opposite side is pure, flowing fabric. | A high-fashion, modern look that prevents the design from feeling overwhelmingly busy. |
6. Pro-Tips for Outdoor Venues
Outdoor environments introduce unpredictable variables. Protect your design with these veteran styling rules:
- Avoid the Sail Effect: Windy beach or mountaintop ceremonies will turn a solid backdrop of fabric into a sail, potentially pulling the arch over. Opt for lightweight chiffon and tie it down at the base rather than letting it float completely free.
- Hide the Weights Creatively: Never leave ugly sandbags visible. Use the excess fabric from your “puddle factor” to wrap around the weights, then place heavy lanterns, potted greenery, or large floral arrangements directly on top.
- Check the Backlight: If the sun will be directly behind the arch during the ceremony, sheer fabrics like chiffon will become translucent. If you want total privacy or a solid backdrop, you will need to double-layer your fabric or use a higher-density voile.
The Final Touch
Decorating your wedding arch with fabric is an art form that blends structural security with soft, creative styling. By selecting the correct textile, allowing ample yardage for a luxurious puddle, and securing your anchor points with professional mechanics, you create a breathtaking frame for the ceremony. Take your time during the setup, step back frequently to check the balance, and watch your ceremonial space transform into a romantic sanctuary.